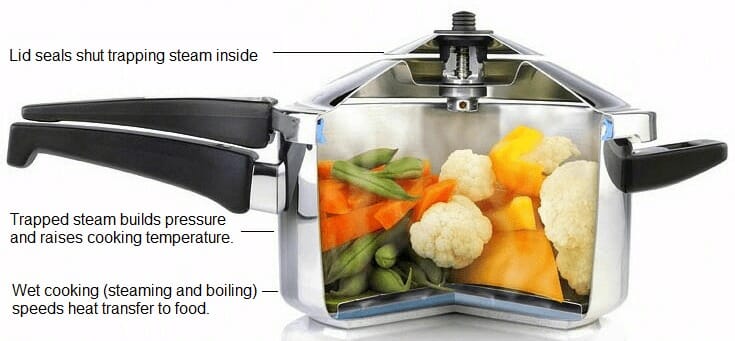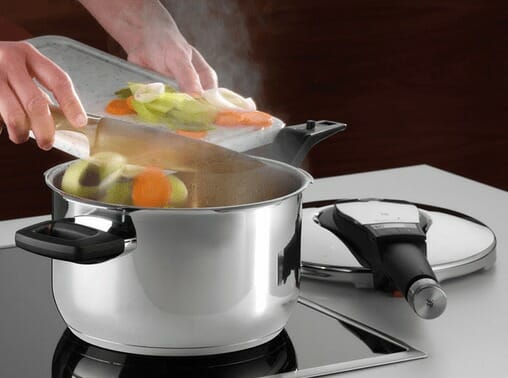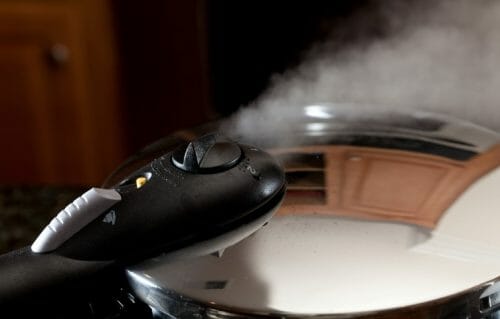
Pressure cookers are the best option to prepare your food in an almost negligible amount of time. In fact, if you have a 3rd generation utensil, you only have to put all the ingredients in the right amounts and leave the rest to this smart device.
Apart from the well-known time advantage, you’ll also get delicious meals with high nutritional value, which is not possible with other methods. However, you need to make some adjustments in your pressure cooker.
The following tips are going to help you in making the best use of your pressure cooker:
#1: Brown the Meat, even Vegetables, then Deglaze for Intense Flavor
This tip also includes poultry, carrots, pepper and chopped onions. You can apply this tip to stovetop cookers. All you need to do is:
- Add some oil (canola or olive) to the pot and heat it on medium-high. Make sure that the pressure cooker is uncovered.
- Pour the food in small batches and allow it to brown on all sides.
- After the food is browned, remove it and set it aside in a bowl.
- Now, you need to loosen up those delicious juices and small food particles. Add a little water or broth to deglaze the pot.
- When the pot is completely deglazed, put the food that was removed earlier back into the pressure cooker.
- Add the remaining ingredients.
- Cook under pressure.
If you have an electric pressure cooker, you can follow the above-mentioned steps, but instead of heating the pot, choose the brown function from the menu.
#2: Avoid Overdoing the Liquid
As the food is cooked in a closed and sealed space, there’s no chance for the liquid to escape as vapor. Therefore, pressure cooking needs less liquid for cooking compared to conventional cooking.
No matter what the food item is, keep the liquid level low. To make things simple, always add one cup of liquid. A manufacturer’s manual, as well as the pressure cooker recipe booklet, better indicate the amount of liquid to be added to a particular recipe. In any case, keep the liquid level below the half-way mark of the pot.
More reading:
A Guide for Safe Pressure Cooking
#3: Fill the Food Carefully

If the pressure cooker has a large pot, it doesn’t mean that you fill the food to the top. In fact, keep the food level below 2/3 of the pot. Another thing is, the food must not be tightly packed inside the pressure cooker. Ignoring both these rules will affect the efficiency of your utensil, as well as the quality of your food.
A fully packed cooker will obviously take more time to prepare food. Besides, the top and bottom layer of the food may come out overcooked, while the middle layer remains undercooked. Moreover, filling the whole pot completely activates the safety valves before the pressure is reached.
You can see:
5 Things to Know When to Use a Pressure Cooker
#4: Even Pieces, Even Food
Cut the pieces uniformly so that all the food is cooked at the same time and has the same taste, feel and flavor.
#5: Try Stop-‘n’-go Process
If the recipe has different kinds of ingredients that have different cooking times:
- You can begin with partially cooking those ingredients that take longer to cook, such as meat.
- Now, use the quick-release pressure method to stop cooking.
- Then, add those ingredients that cook faster than others (green beans and peas) to the food.
Now, pressure cook all the items together to get the best quality of food.
#6: Start on High Heat, End with Low
That’s when you’re using a stovetop pressure cooker. Start with the high heat. As soon as the pressure is reached, turn the burner to low heat (simmering).
If you’re using an electric pressure cooker, there’s no need to adjust the heat. It automatically does the whole thing without a human hand.
#7: Use Two Burners (with Electric Stoves)
The reason is, when you lower the heat in gas burners while cooking in stovetop cookers, they tend to react quickly. However, that’s not the case with electric burners. So, always set the two burners; one at high heat and the other one at low heat. As soon as the pressure is reached, put the pressure cooker on the low-heat burner.
#8: Set the Timer
The kitchen timer comes in handy while pressure cooking. As soon as the pressure cooker reaches the right pressure, set the timer according to the recipe, allowing the food to cook properly. If you have an electric pressure cooker, there’s no need to set the timer.
#9: Use an Electric Pressure Cooker for Seamless Cooking
Here’s how you can play your part in cooking:
- Set the desired pressure level on the control panel (use the high or low button)
- Set the desired time for the food to cook at a certain pressure (use the high or low button)
- Press “Start”
Once the pressure is achieved, the pressure cooker will automatically start the countdown. Finally, you’ll hear a beep indicating that the food is ready to come out.
You can see:
Electric Pressure Cooker Recipes & Best Cookbooks
#10: Cooking at High Altitudes Takes Longer
If you reside 3000 feet above sea level, you have to increase the cooking time. a rule of thumb is, the cooking time should be increased by 5% with every 1000 feet. Up until 2000 feet above sea level, it remains the same.
#11: Use Proper Release Method

When the food is finished cooking under pressure, follow the recipe to apply the exact pressure release method. So, be sure whether you have to apply the quick-release or natural release method to open the lid. There is a difference of at least 20 to 25 minutes between the two methods.
#12: Stay Away from Cold-water Release
In addition to above-mentioned tips, do not try the cold-water release method on your pressure cooker. Manufacturers and some recipes have instructions that they tend to recommend for some food items, but you can always switch to a quick-release method. You may be losing the taste but you’re not losing your pressure cooker with this trick.
#13: When to Add Dairy Products
Dairy ingredients may curdle under high pressure, so it is better to add them at the very end. Same goes for the herbs. These items can utilize residual heat to release their flavor, yet keep their nutritional value.
You can see:
13 DO’s & DON’Ts to Pressure-Cook Your Food with Induction
Leave a Reply